


WELCOME TO BARBECUES GALORE
MUST-SEE SHOWROOMS
Our highly trained experts understand all of the latest trends, products and promotions available to make your decisions clear and easy.
EXPERT ADVICE
We provide expertise, beyond product tech specs, to help you navigate the staggering assortment of outdoor living products and fireplaces.
OUTSTANDING SERVICE
Our butler service builders and licensed gas installers can deliver, set-up and train you to ensure you enjoy everything for years to come.
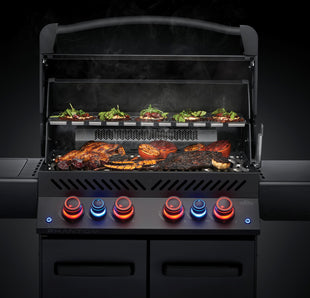
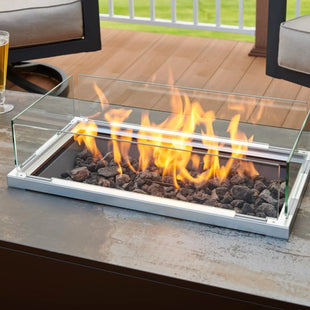

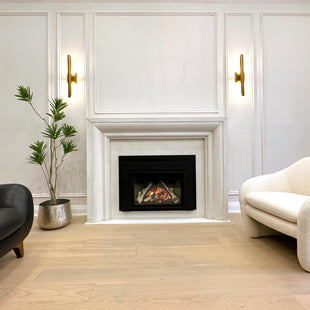
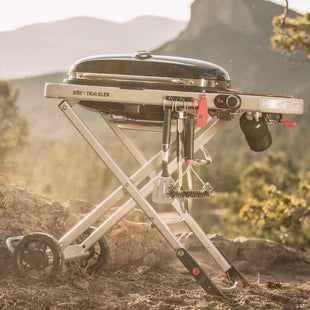
New at Barbecues Galore
-
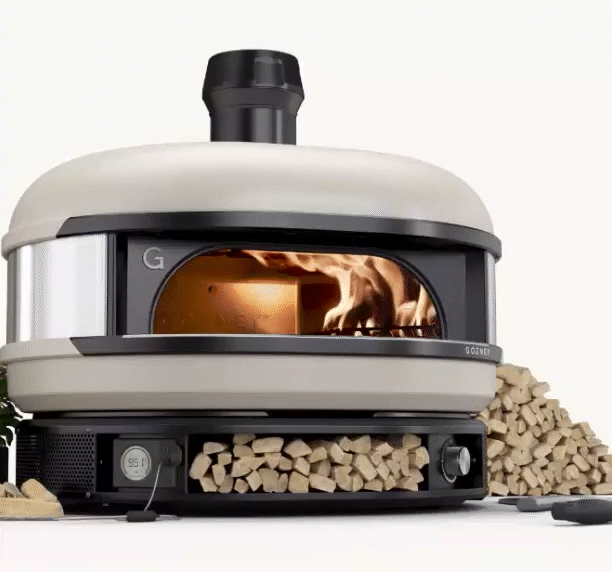
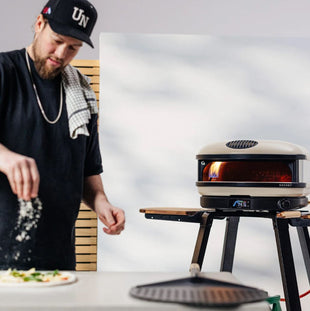
Top Pizza Party Essentials
Redefine "Personal Pizza" Your WayGet your backyard pizzeria started today, and make memories with the kids that'll last generations.
-

Find New Recipes Every Week Here
Explore New Tastes HereWhether you're a backyard pit master that grills with live fire, a kitchen cooker, and anything in between, we've got recipes for everyone.
-
Subscribe to a Better BBQ Experience
Make the Most of Your HomeJoin our Hotline Newsletter to get limited deals, unique recipes weekly, expert advice, and more.


